

This is basically my motto for life and I decided it would make a fun wall art piece. I got a little crafty for this project using a lot of items I already had around the house and am very happy with how it turned out! Obvi, you are now contemplating how you can make the same sign, and lucky you, I am going to outline the whole process! None of it is hard, but it is a time consuming process. Grab a drink, get comfy, and settle in for this long post.
Materials:
- Canvas (Mine is a 22″ x 28″)
- Paint & Paint Roller
- Glitter spray (optional)
- LED strip lights- I used these
- I love these lights because it comes with a remote and you can choose tons of different colors and modes.
- LED strip light connectors- I used these
- 3D printed letters. I printed these myself, if you would be interested in purchasing some, send me a message! I used this filament.
- Hot Glue Gun/Glue Sticks
- Scissors
- Xacto Knife like this
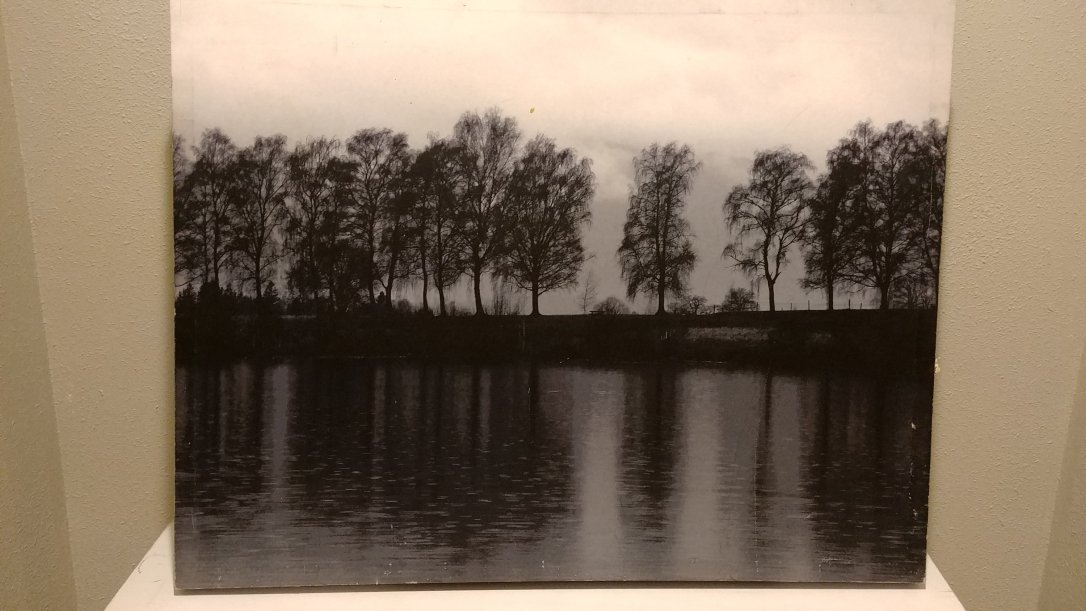
For the base of the sign I used an old scratched canvas that I was just going to throw out. If you don’t have any at home already, you can purchase a new canvas from Walmart or any craft store, or even shop your closest Goodwill.
I painted the canvas with a leftover paint sample in light gray that I had laying around. Pro Tip- use a roller to paint, a brush is time consuming and leaves streaks.
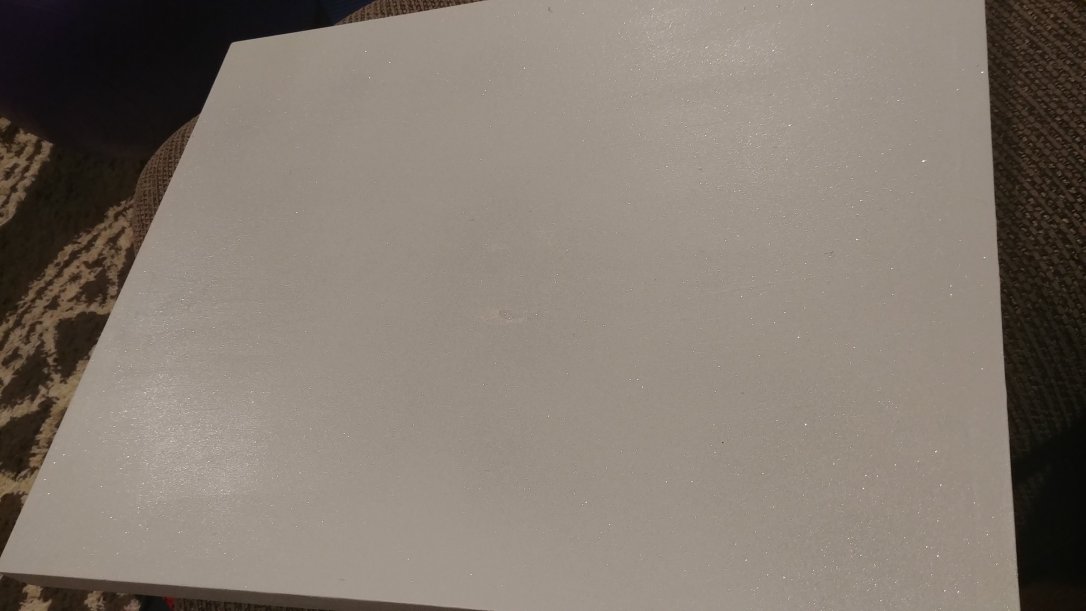
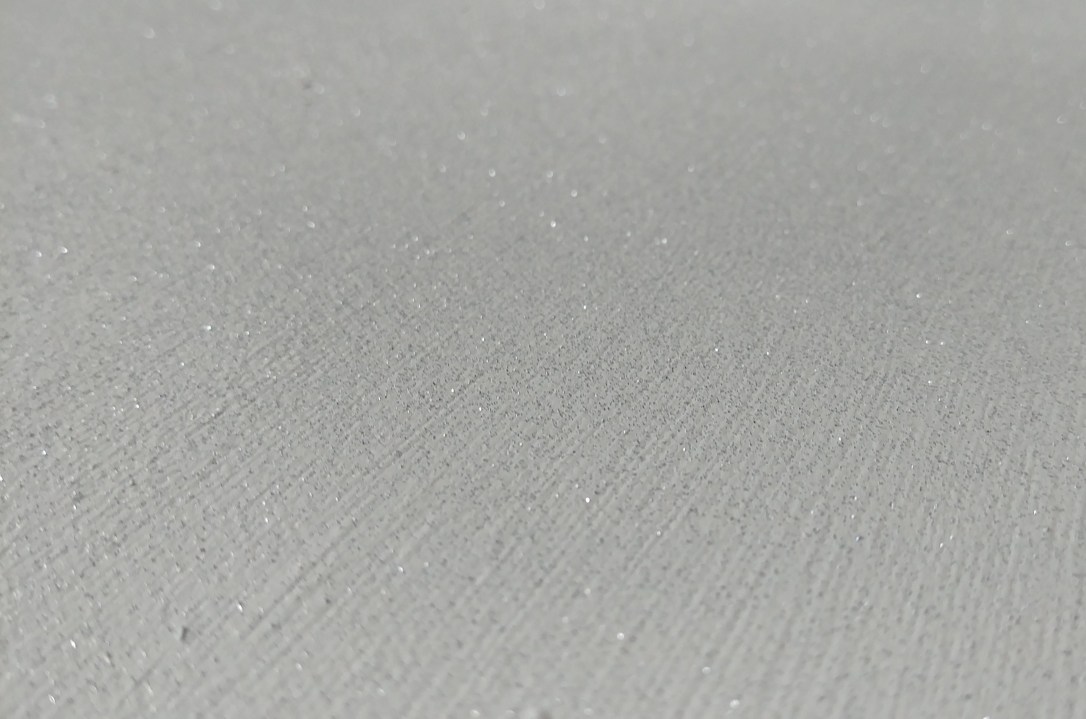
After my canvas was dried, I used some of this spray glitter I also had laying around, because can you never have too much glitter. If the glitter herps scare you, you can omit. Search deep in your cabinets, you may be surprised to find you already have items you can use without having to buy anything!
I used Solutech 3D clear PETG filament to print the letters. For those of you who will be doing your own printing, these are the settings I used in Cura.
- Turn the fan off
- Print Speed of 30. Yes, this means your letters will take forever to print, BUT you won’t have to reprint anything because it comes out perfect 🙂
After your letters have printed, you will want to sand the letters. You might be thinking, but sanding sucks, do I really have to? The answer is yes, it makes a big difference. The letter below on the left was sanded, the right was not. The sanding helped the light reflect more evenly.

Next, plan where you would like them on the canvas, and outline with a pencil.
INSERT PHOTO HERE
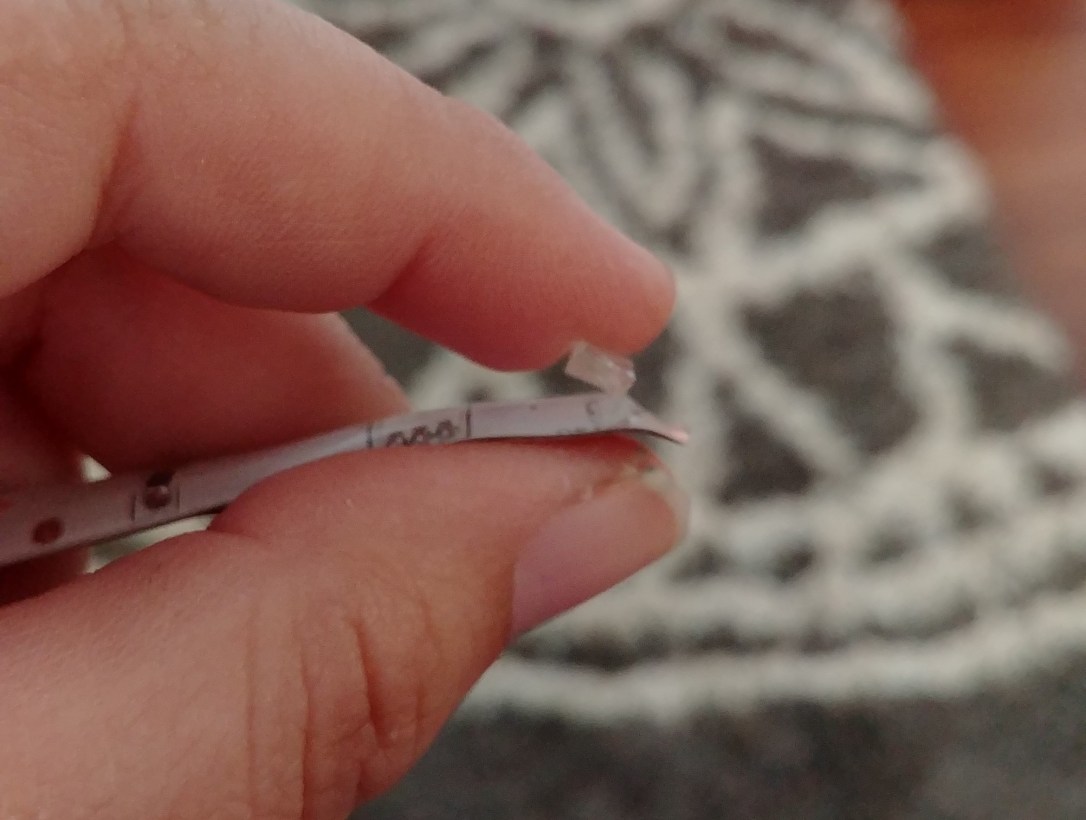
Let’s talk briefly about the led strips before we start using them. The back side of the strip has an adhesive tape, and sticks well after you remove the backing- so don’t remove the backing until you know for sure where you want to put them! These lights can only be cut on the copper sections indicated by the solid black line running through the copper section. When cutting, try to be as precise as possible. The led strips bend front/back really well, but don’t handle 90 degree angles from side to side well.

Now that you have a basic understanding of the led strips, you will start to fit the first letter of your sign. PRO TIP- If you have all straight letters/lines, you may be able to attach the leds directly to the canvas and save a lot of time!
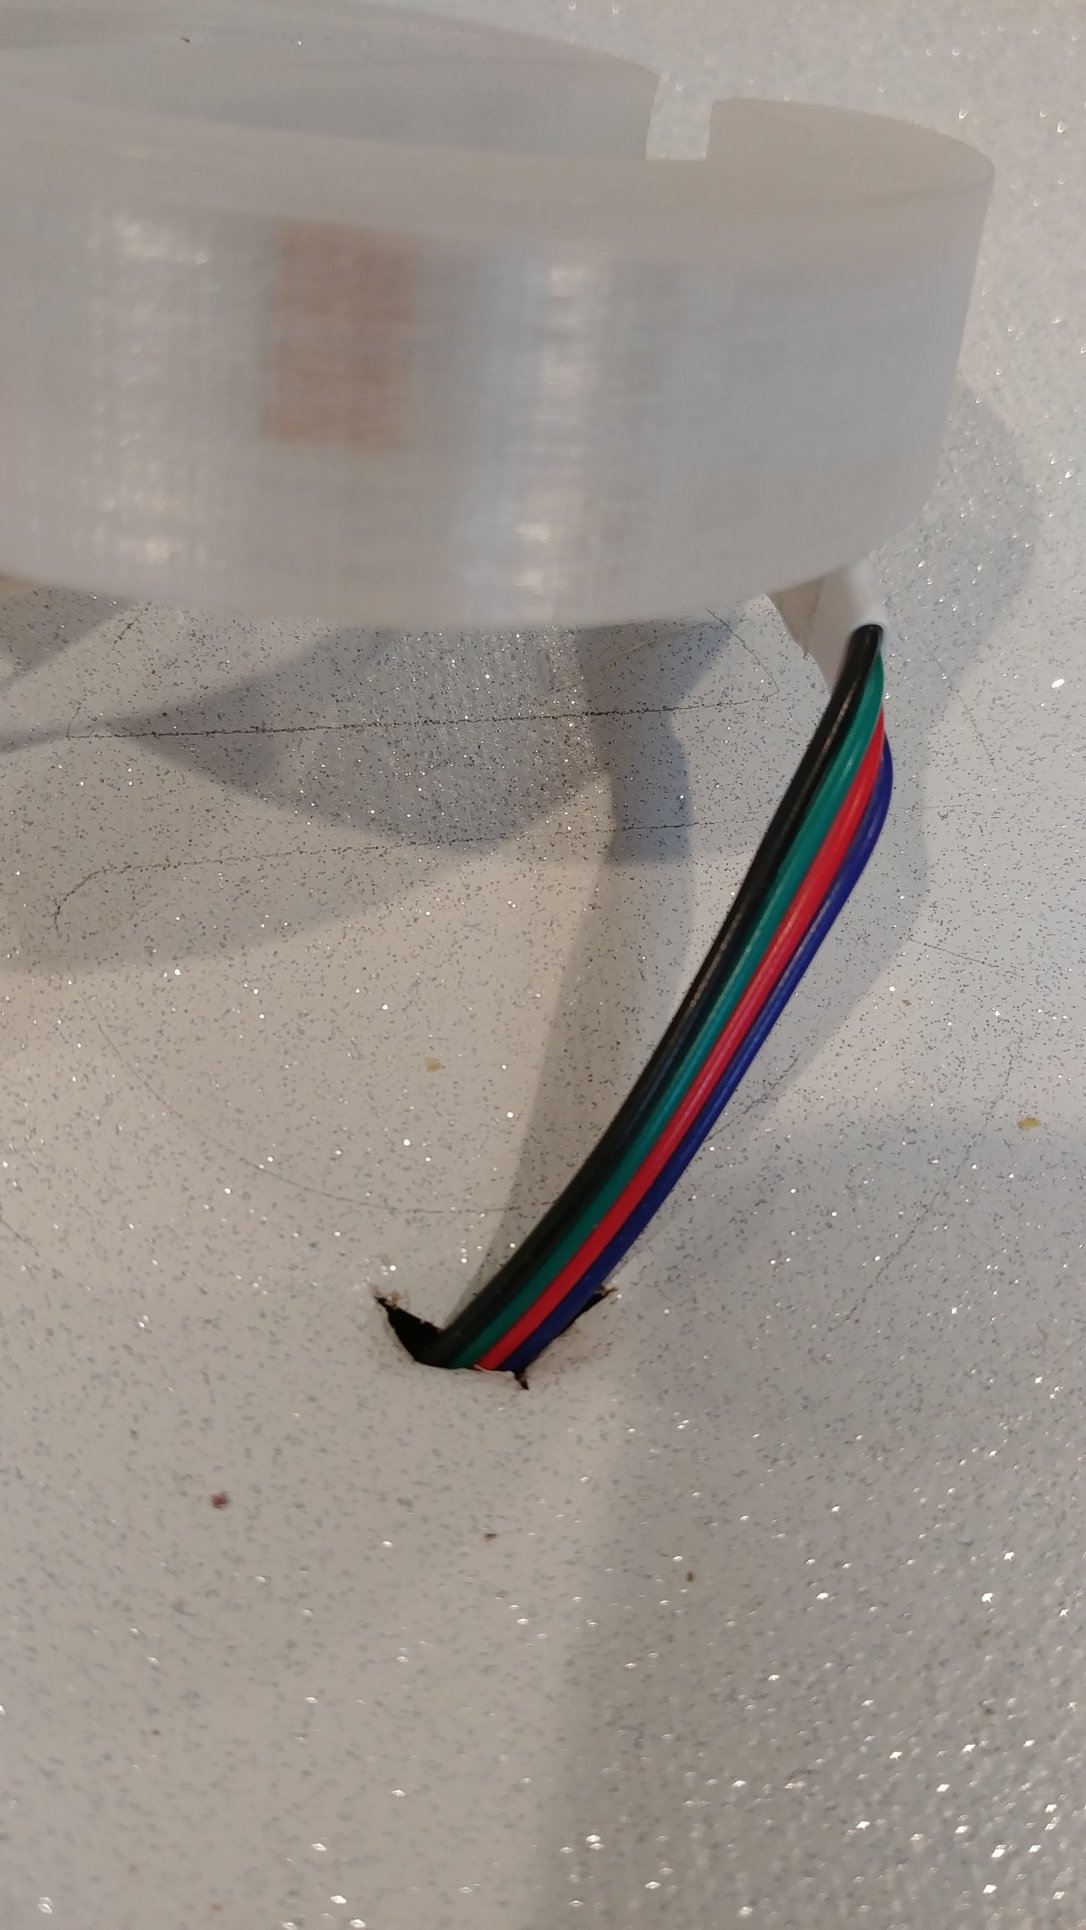
Start assembling with a bottom letter, I started with the ‘E.’ I chose to start from the bottom so that the adapter could sit on the bottom of the canvas, and allow the cord to be as long as possible. Attach a connector by matching the color wires to the matching led code.
- +12V = Black wire
- G = Green wire
- R = Red Wire
- B = Blue Wire

Arrange the lights how you want, and cut along the closest copper section, always opting for a little more versus a little less. After your section is cut, you will need to remove the top rubber covering. I did this by inserting my fingernail inbetween the strip and the rubber and slowly kept pulling back. You want to cut the rubber covering off after the letters are showing on the strip.

Next, you will insert your freshly cut led into the connector. The copper pieces need to be under the metal clamps, being sure the codes align with the correctly matched wire.

Remove the adhesive backing and press into place.

When your letter has lights attached, and connectors ready to go, it is time to make the first surgical canvas incision. Based on where the connectors fall on your letter are where you want to make the cuts in the canvas. I started with the bottom on my letter ‘E’. I made a “+” shape and then pushed the connector through. I repeated for the final connector on the letter.
Now, plug in the leds to the wall and make sure everything is lit as you intended. If so, fire up your hot glue gun and trace the outer edge of the 3D letter and secure the letter in place based on your pencil outline. Not so bad, right?!
Go to your next closest letter on the same line, in this case it would be “K”. You will repeat the process of planning how much led strip you will need, but this time you will want to leave extra that will connect to the connector from the fist letter. Each letter now will only have 1 connector piece.
You will repeat the same process of slicing your canvas and pushing through the led strip end and the connector end. When that is complete, turn your canvas over, and connect the led and led connector of the previous piece. Plug into the wall again to be sure your connections are good and everything is lit up as you intended. If so, again trace the letter outline with hot glue and attach to the canvas on your pencil line.

You will continually repeat this process for the remainder of the letters.
Finally you can hang as a normal picture and admire how fucking awesome you are to have just created your beautiful masterpiece. You’re welcome.


